Two Barrios with Three Points of View!

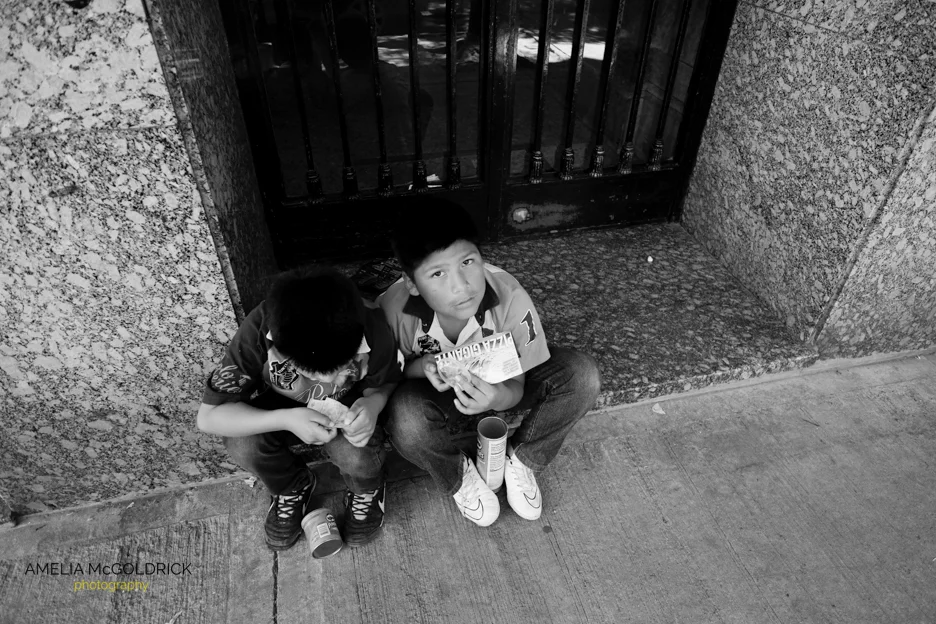
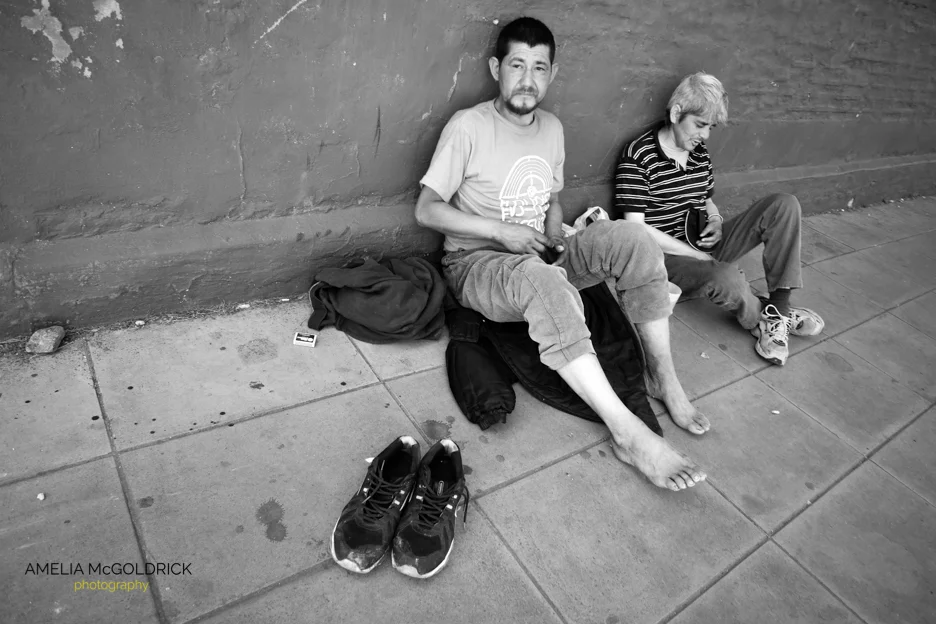
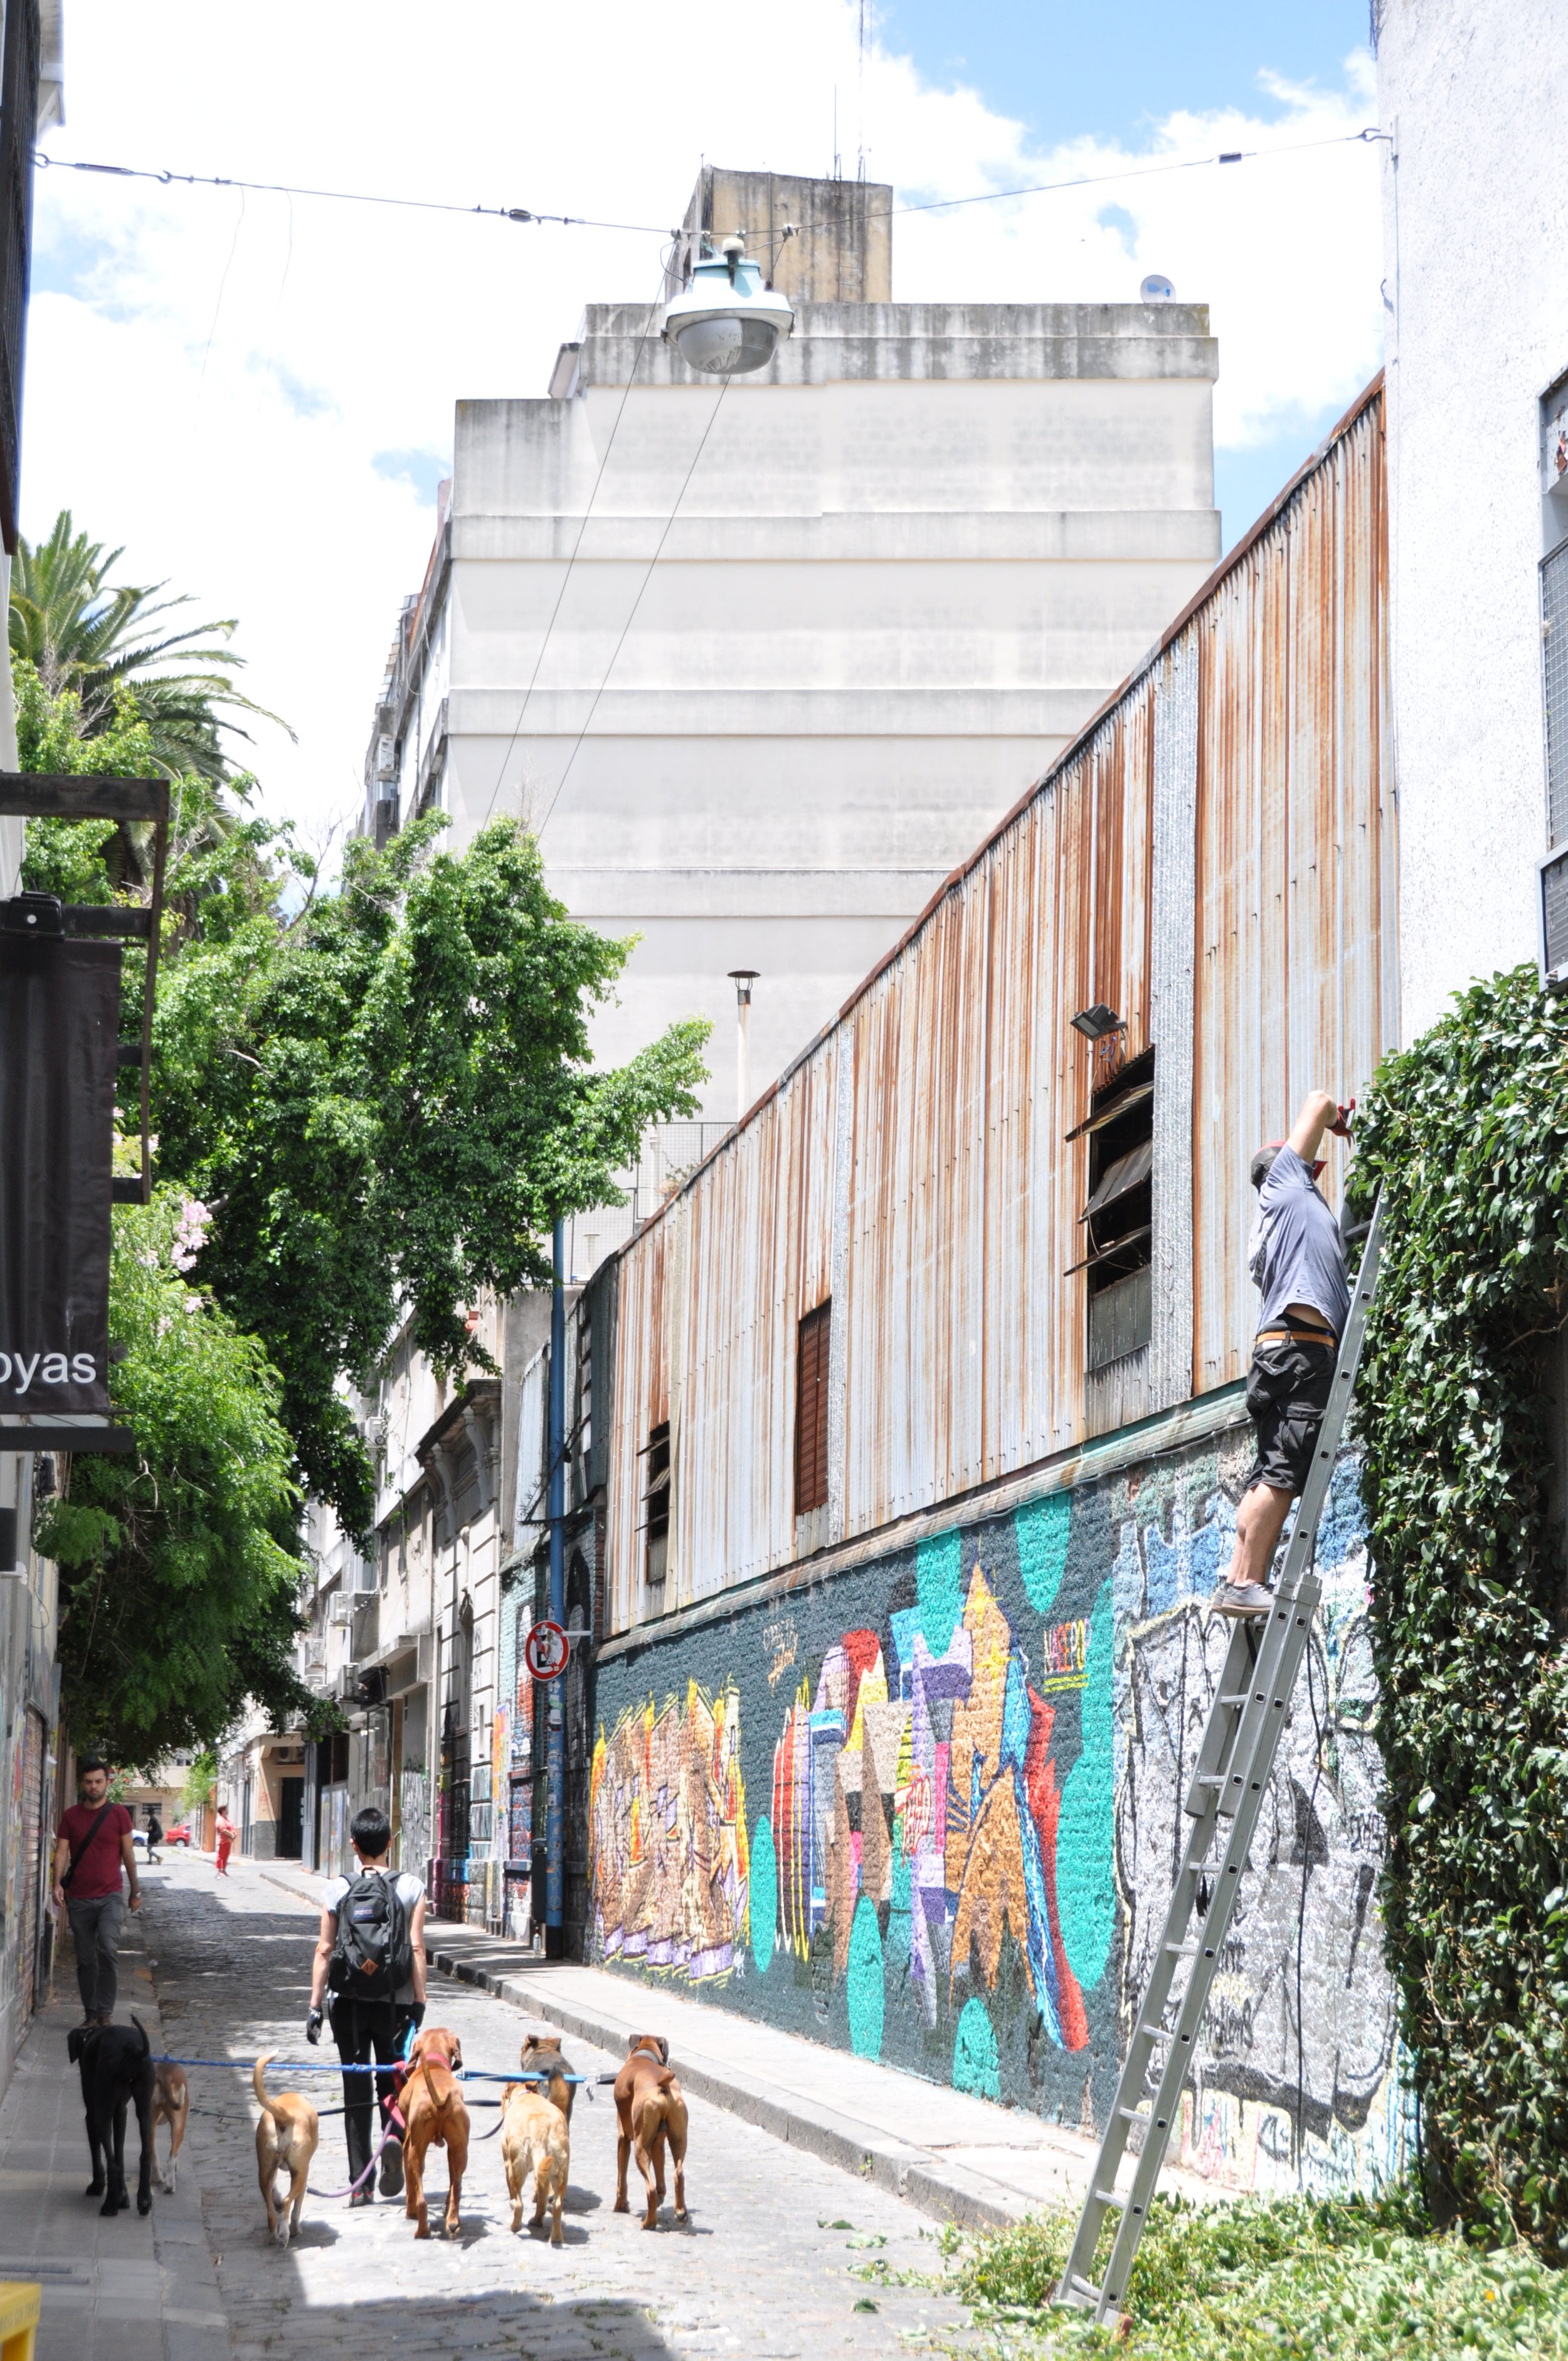
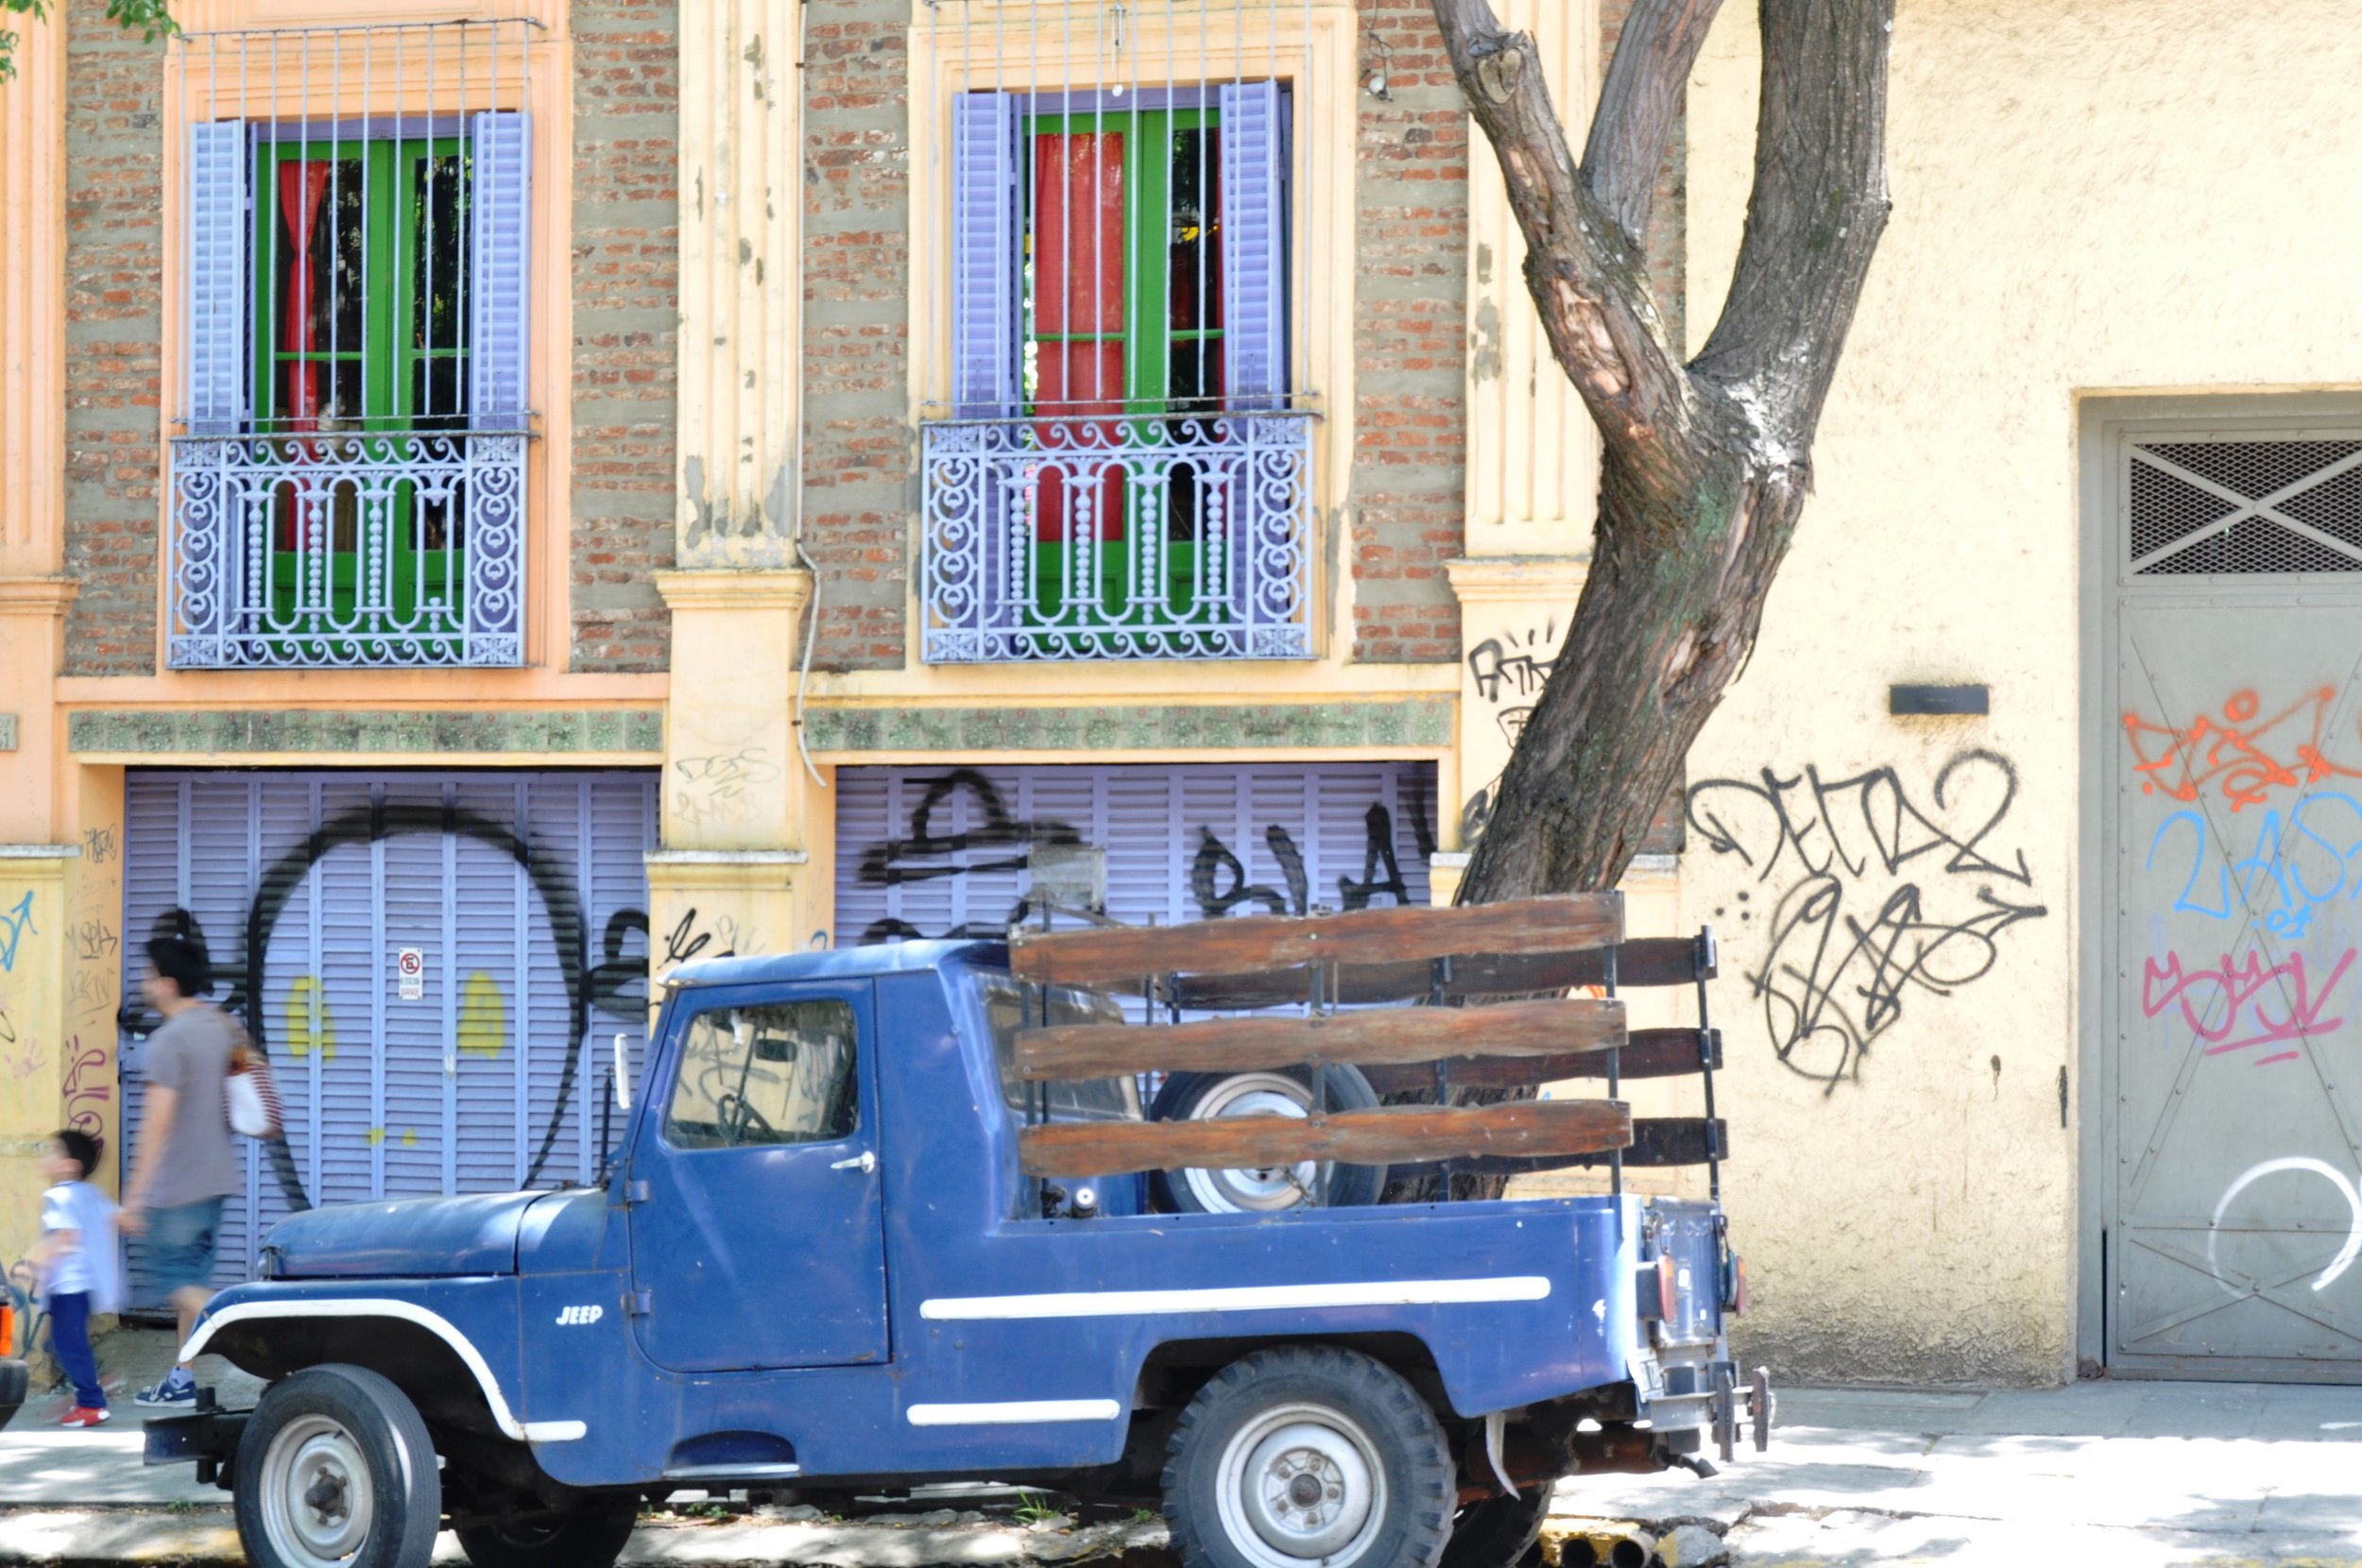
My clients are AMAZING! I may have mentioned this before. I have decided to feature 2 tours in 2 different barrios with 3 different clients. First, let me introduce husband and wife team, Daniel and Suzanne from my beautiful CANADA! We set off into the sneaky side streets of San Telmo and into La Boca. I loved how they worked as a team to get their shots. If one of the two was concentrating on a scene the other would find something else to turn their camera towards. "No point in getting the same shot, when we can get something totally different!". Indeed. They make beautiful books of their epic travels when they return to Ottawa to remember and share their adventures. Loved their use of colour and composition in their work. Team work at its finest!

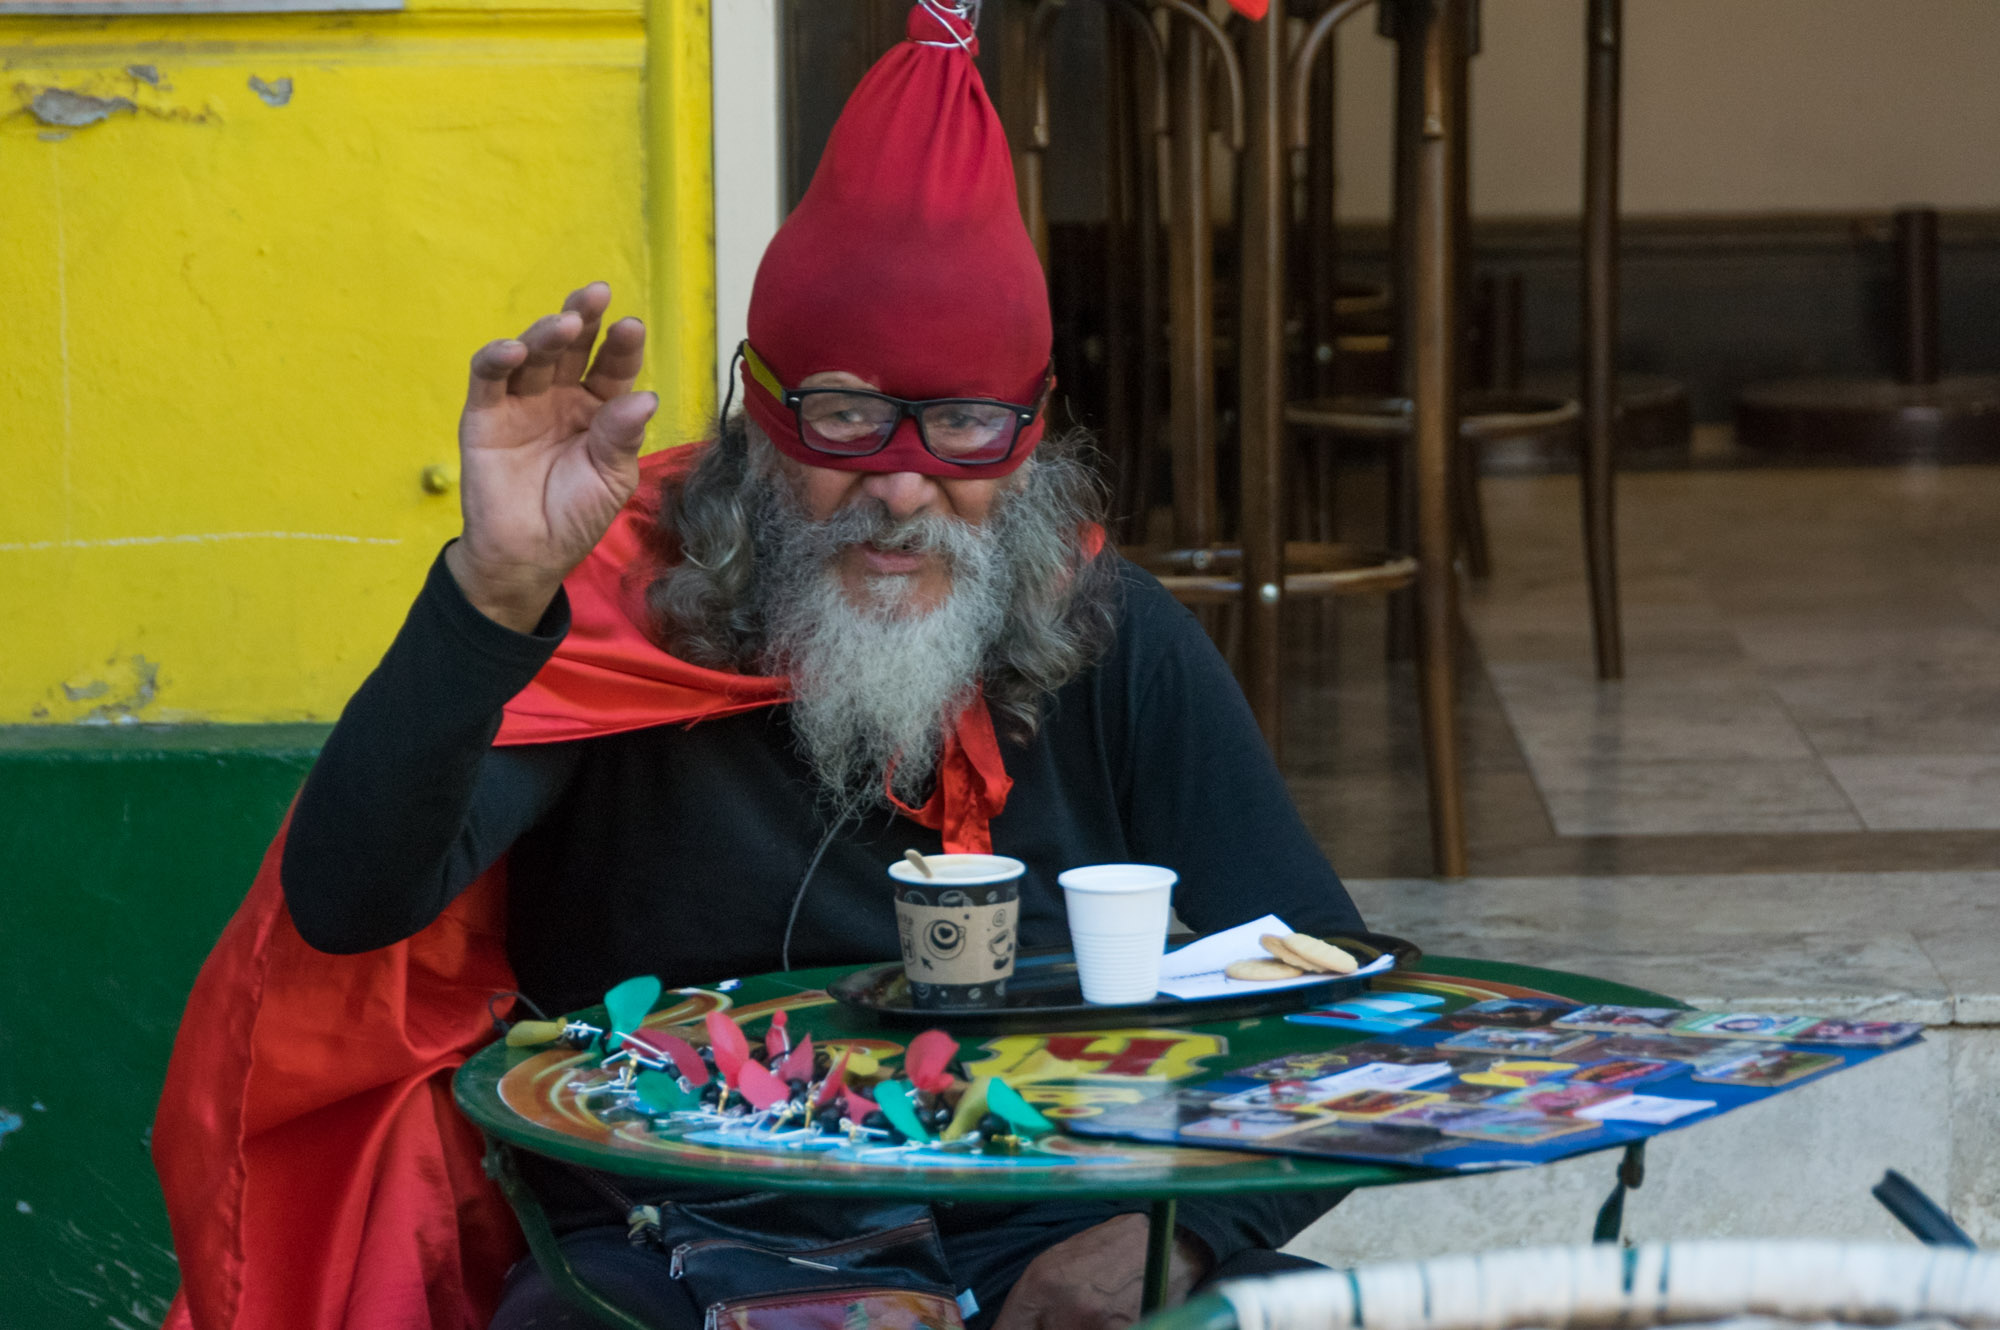
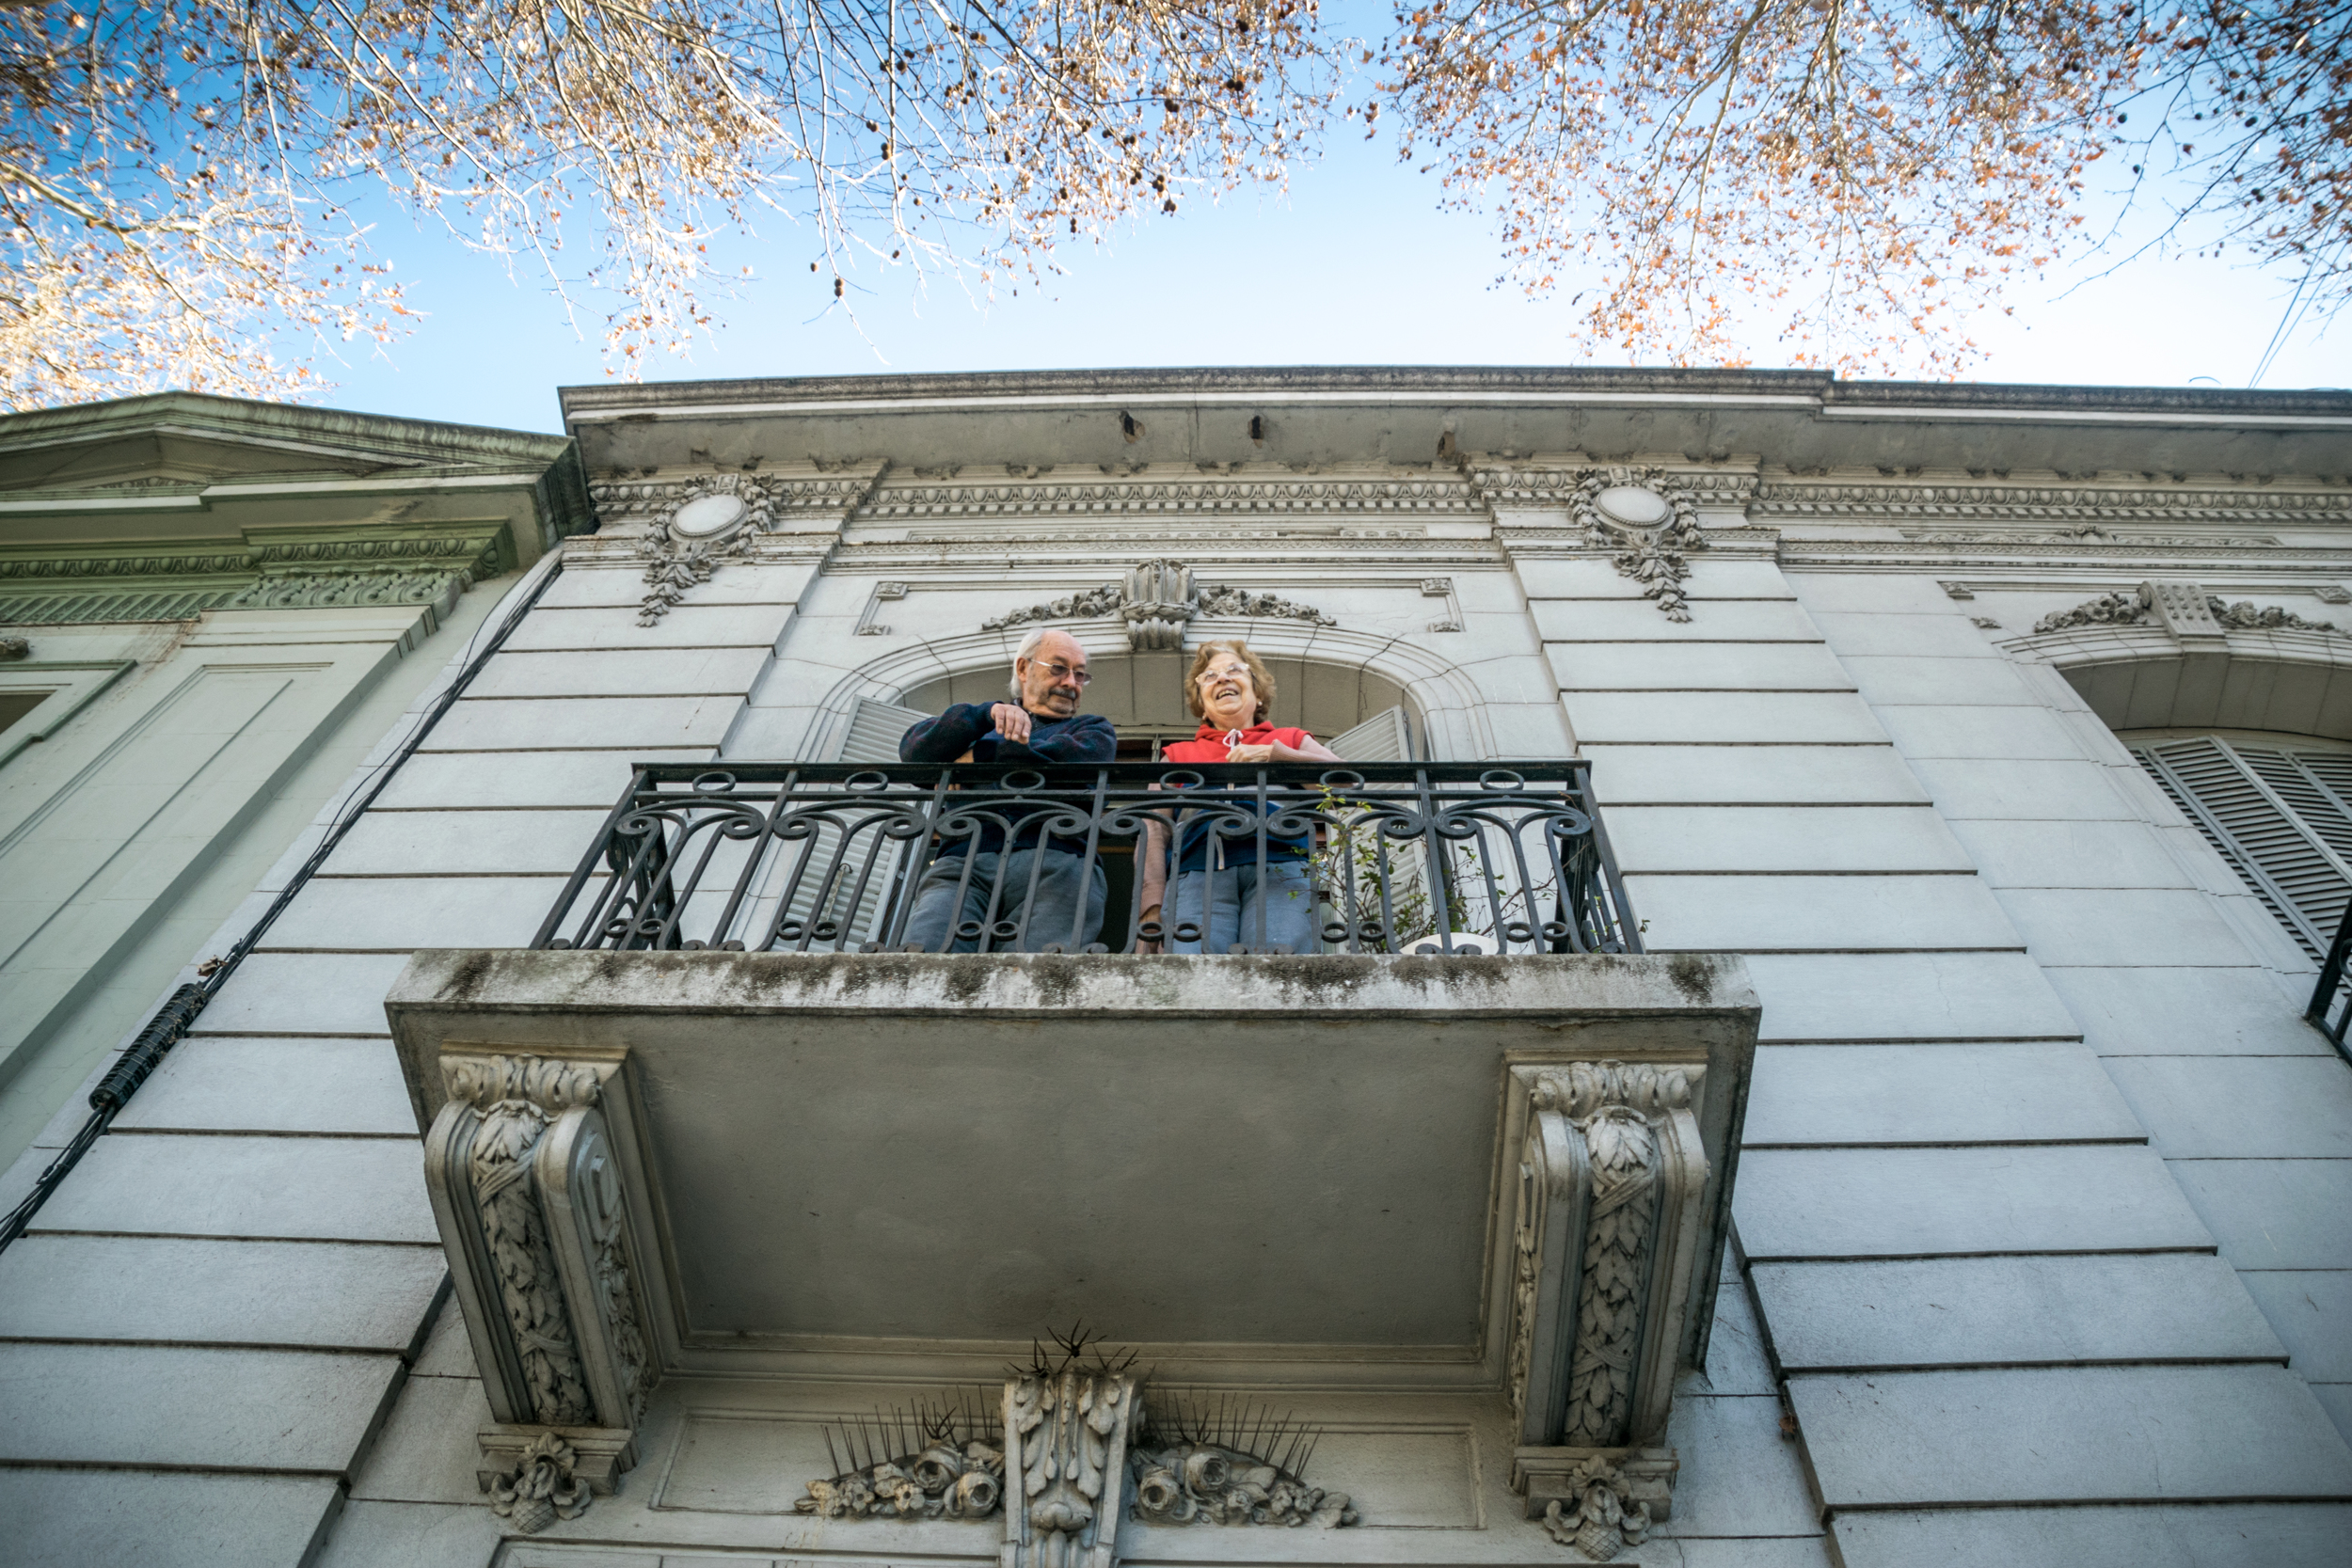
Next, to the off-the-beaten-path Palermo tour with Eunice. I like her style. She likes to shoot anything and everything that is different from her home town in New Zealand. She is an inspiration to travelers everywhere, going it alone on BIG adventures at 70ish year young! During our tour, we walked in (literally) on a video shoot with model and model dog (image 2) and were invited inside a strangers home to admire it's beauty (image 3). You gotta love street photography in Buenos Aires! All the wonderfully random things can happen if you put out the good vibes! Love your photos and your spirit, Eunice!

BOOK NOW your customized tour of Buenos Aires with me as your guide! Who knows what we will see and shoot and the fun we will have!

Tango Shoot MAGIC - Images By Richard Birmingham

The nice weather is FINALLY here and Richard and I went out shooting for a few hours before he booked Laly and Leandro for a private tango shoot.

With San Telmo as the backdrop and these stunning dancers as Richards subjects, he captured some classic 'golden hour' images to document his time in Buenos Aires. The last shot is from my camera of Richard in action. 

Booking is easy and the dancers are available Monday to Friday most mornings and afternoons. Drop me a line and let me help you capture the BEST that Buenos Aires has to offer!

5 Camera Settings You Need to Change NOW!

Have you recently purchased a DSLR and are super confused with all the buttons and what they do? New to photography and want to up your photo game? I've got you! Follow these 5 simple tips and it could change your life (or at least better your photography!) Usually, when I meet a client, I'll sit and have a look at their camera and change a few of their settings right away. You likely don't have me next to you to help you, so here is my top (easy!) functions to change on your camera that will make a big difference to your photography. These settings live in different parts of the menu depending on your camera brand. Have a peek at the manual or search online to find it on your model.

  • Turn Off Beep and AUTO Focus Assist Illuminator - You don't need either one of them! Some may think that the beep can help you know when you're focused properly. This is true, but you know when you're in focus as the shutter releases and you get the 'green light'. Even if your focus is off, the beep won't help you. It's just super distracting, especially if you're shooting the ceremony part of a wedding or trying for that incognito street portrait. Same with focus illuminator. There is ZERO need for this during the day (or even at night), it only distracts your subject and they will have a puzzled "what the heck was that?" expression on their face when you press the shutter. Nobody wants that. There could be a slight chance in very very low light that you might need this. But the odds that you do are so slim. So just turn the thing off!
  • Turn Off Your FLASH - Ew, gross. Is what I say to onboard camera flash. It does nada for your subject unless you like washed out skin tones, red eyes and floating heads and bodies in black abyss. Instead, move your subject closer to a light source (window light rocks!), turn on another lamp and open the curtains or kick up your ISO (be careful with this as you might find it creates grain and noise). Eventually, you could think about investing in a speed light, but you certainly don't have to do that right away!
  • Dial in the "Diopter"! - This has changed the game for a few of my clients! It's the easiest thing to do and so many don't know about it. It's a little dial, usually located to the right of the viewfinder. Have a look through the viewfinder and give this guy a spin. It only changes the focus that you see, not the final image. Set it so that what you see in your frame is clear and sharp. LIFE CHANGING!
  • Auto White Balance but NOT Auto ISO - This is maybe the only time I will agree to Auto. But you have loads of things to think about with composition, lighting, shutter, aperture the last thing you need as a beginner is to throw changing your WB into the mix. If you really love photography, you should be using a post production program of some kind to edit your images. This is where you can change colour balance if it's a bit off. However, Say NO to Auto ISO. My rule of thumb for beginners is to keep your ISO in and around 400 for daylight shooting (I usually go with 320). You're not doing fine art shots, so you don't need to go below this number.  I would only change it up if you are entering evening light or inside darker conditions. If you choose Auto ISO, the camera is deciding what your ISO should be and it's not always accurate. You don't want to be shooting portraits with an accidental 1600 ISO. No no no no. Keeping your ISO consistent will also make it easier to learn how shutter and aperture work together (in manual mode) to properly expose your image. An invaluable lesson if you want to be a better photographer.
  • Switch Focus Point from Auto to Manual  - I'm always harping on about going manual all the way! But, I understand fully manual everything can be a scary place for beginners. However, you're going to have to move out of the comfort of AUTO and switch to either M, A, S, P (Nikon) or M, AV, TV, P (Canon) modes on your camera. Changing your focus area from auto (lots of focus points) to manual (one single focus point that you can toggle to different focus points) will give you control of what part of the image that you want to be 'featured' (in focus) not the area that your camera is guessing you want in focus. More control = better photos. 

There you have it! I have LOADS of other little tips and tricks to help out the new photographer or if you have a new camera and your unsure about it's settings.

Hit me up, book a tour and come learn, shoot and explore the city with me!

Photo Tips: How to Shoot From The Hip

Shooting from hip (or chest) can be the most fun (when it works) and the most frustrating (when it doesn't) way of changing your photographic perspective. Here are my tips and tricks to help you master this awesome way of capturing your subject without bringing your camera up to your face. It gives you a chance to capture a nice little candid moments that can help you tell a story through your photography.

First and foremost: Don't get discouraged! My photos featured here are a small handful of DOZENS of images I have taken over many many photo tour sessions with clients over the last year or so. Sometimes you get lucky and it's perfect and sometimes you don't even get your subject in the frame! Here are some tips to help create that perfect hip shot.

  1. Get as close as possible to your subject and use a wide angle. Hold your camera around hip height, pointed at your subject. Press the shutter multiple times or put it on 'burst'. You want as many shots as possible to choose from. Occasionally you think you're being sneaky and you're not. You totally get caught and that's OK. If you didn't get it at all, decide wether you want to make another pass. This is perfect for people sitting on benches. The hip height means you are right at their level.
  2. If you have the option to flip out your LCD screen on the back of your camera, DO IT! This will help tremendously with focus and of course, you are not shooting completely blind. Some 'purists' may think it's cheating, I think if it helps with focus and composition, use it.
  3. Choose the fastest shutter speed and smallest aperture you can manage with your light conditions. Achieving sharp focus can be tricky, so avoid using this technique at night time, you likely won't be able to achieve correct focus and it will just end in frustration. No one likes that.
  4. Change your focus to from AF-S to AF-C (Nikon) or One Shot to Al Servo (Canon) click here if you need help understanding what this means or check your manual. You can also change your focus area from single spot focus and multiple spot focus. Check out this image to help you understand better. Or if you're like me, I get so excited when I see a great subject I forget all this and wing it and hope for the best.

Please don't hate me when I tell you practise makes perfect. It really does.  If you're new to this technique try not to choke up and get nervous at the last second and bail on your shot. Keep your cool and you'll have a better chance at capturing some great stuff!

Come to Buenos Aires and let me show you how it's done! BOOK A TOUR, grab your gear and let's hit the streets!

Katie Day!

Lovely winter weather for our afternoon tour with Katie Paulson in the lesser known streets of Palermo Soho. The amazing clima meant that there were lots of smiling faces out and about with nice light and blue skies after days and days of rain. Lovely shots, Katie!

Today's PRO TIP: If you have decided you love photography and you can't live without it. Do some research and buy the best lens you can afford. Believe me it's worth every penny for those tack-sharp shots. Anyone can be a good photographer these days, but if you have decent gear it puts you one step closer to being the best!

Visiting Buenos Aires and want to take some great street photography photos like these? Ping me! Let's start to plan your day!